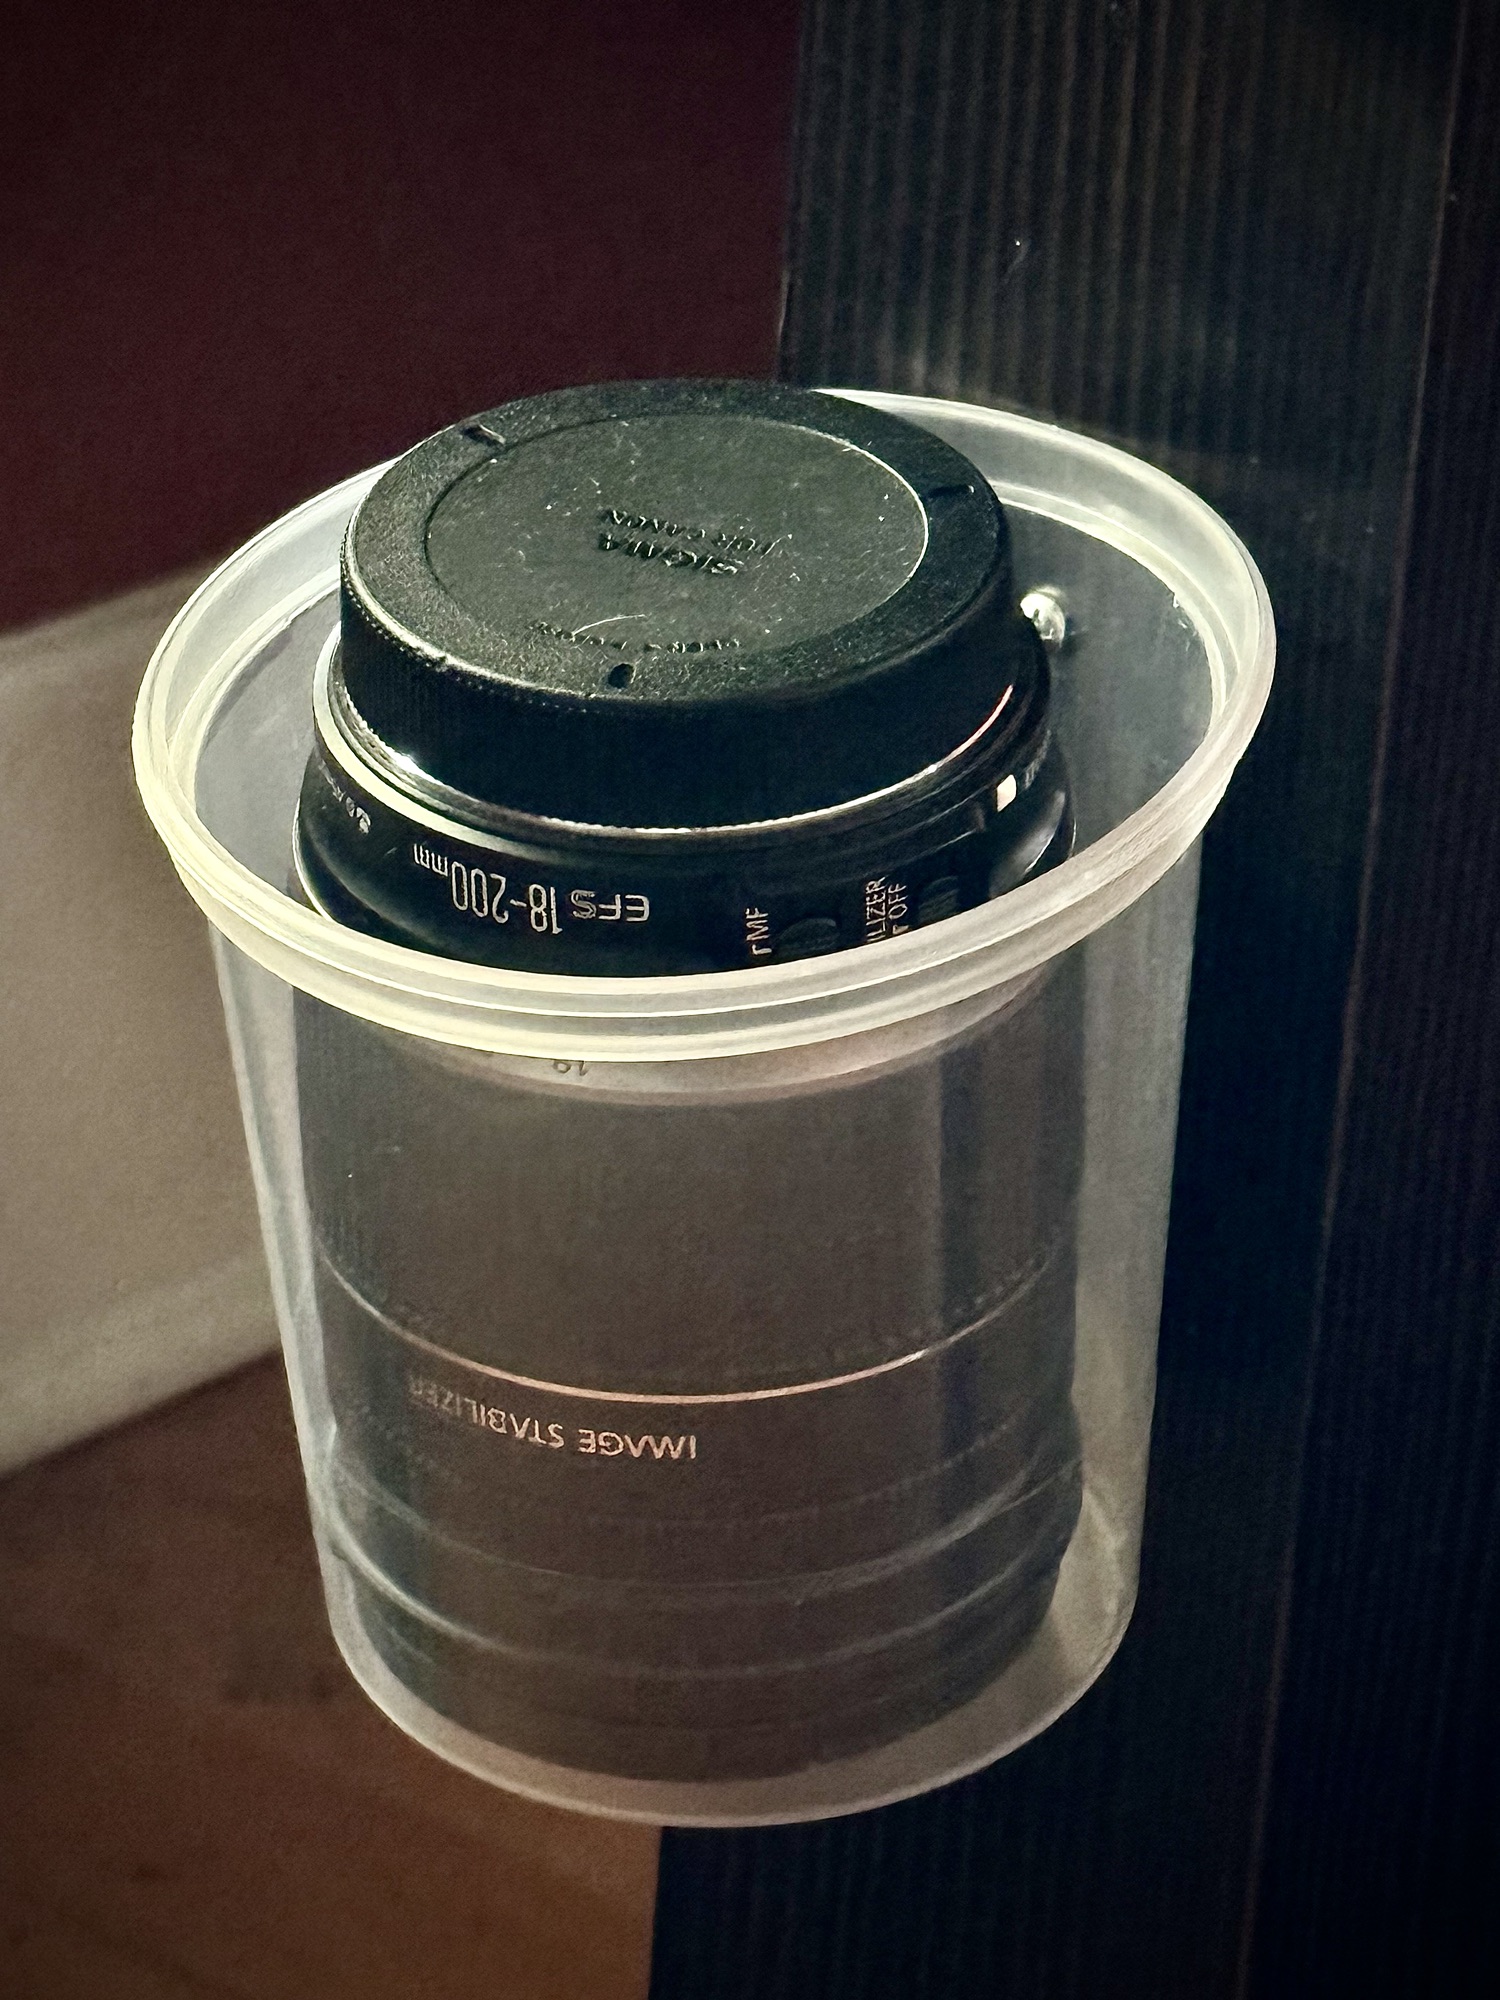
One of the primary lenses I use with my Canon 80D needed a home when not in service. Lately we’ve been washing condiment and other plastic containers before recycling them and sometimes (the ones that don’t melt in the dishwasher) they come out so clean I keep a few for storing bits in my workshop.
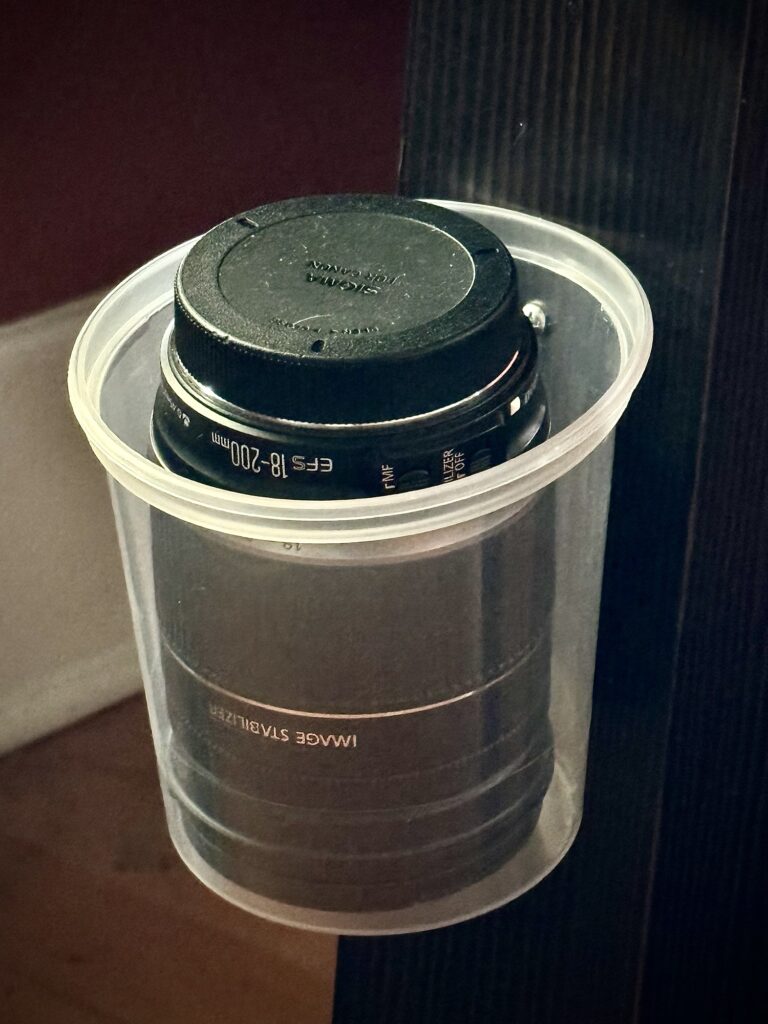
In this case I used a couple screws to attach this old salsa container to my home office desk’s wooden legs making for a great lens storage solution that’s way better than keeping it on the floor.
You could easily use a few of these on a workshop wall and, if they’re clear, it’s easy to see exactly what’s in there. And, don’t disregard containers with tapered/smaller openings than their widest diameter (I’m looking at you, mayonnaise). Carefully use a sharp utility knife to trim off the top part.
Reusing old condiment containers is a great way to get cheap storage options while doing the Earth a solid and giving some plastic a second life.
The time for our kiddo to have a screen in his room has come. It’ll help contain the sounds of some of the horrible shows he watches 🙂 BUT, and more fun, he can more easily hang with a buddy and play games together.
I had a spare monitor around but wanted to keep things clean and off his desk and, instead of a swing arm-style wall mount, I created this DIY bracket out of a couple strips of aluminum I had around.
Follow along below on how you can build a DIY monitor flush wall mount and hit me up on Mastodon to ask me anything.
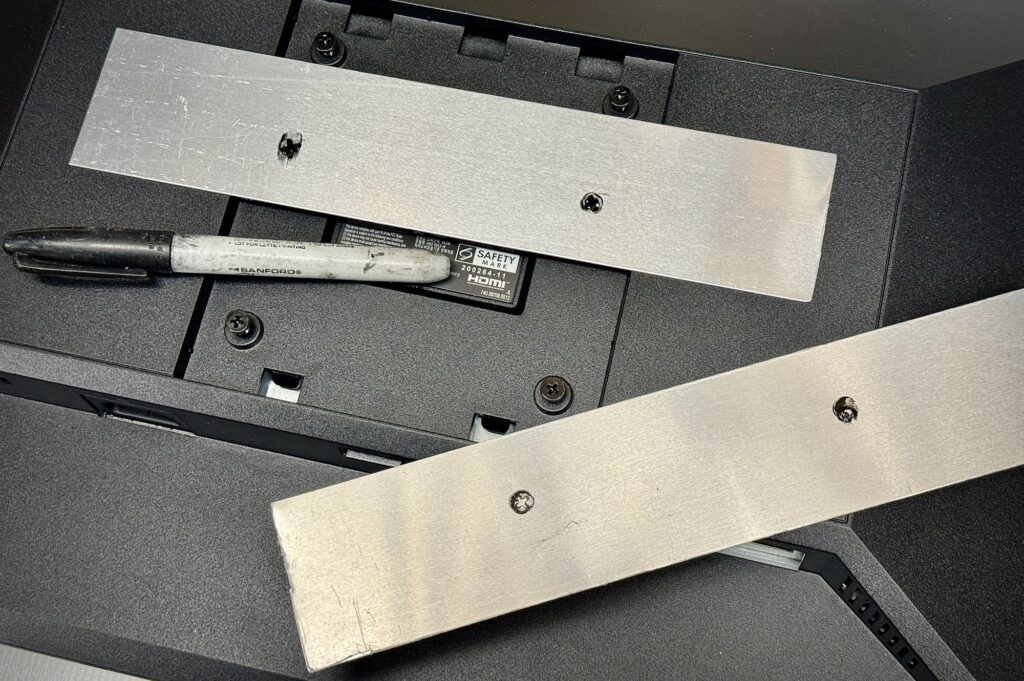
1. Holes for monitor mount screws
First, cut your aluminum plate (or strips in my case). To figure out where the monitor mounting screw holes need to be you can measure or try the following: Loosen the screws on the back of the monitor then paint them with a marker. From there, lay down the aluminum and press them against the screws leave a clear mark of where to drill.
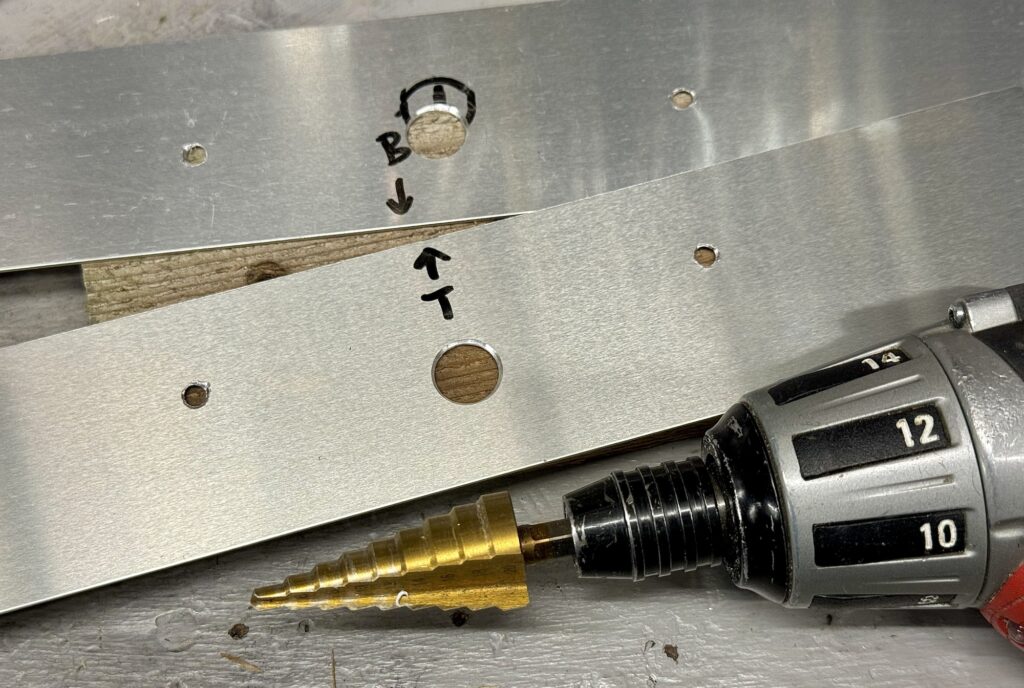
2. Wall mount screw holes
After the mounting holes for attaching to the monitor were ready, measure half way between them (horizontally) and used a stepper bit to make holes large enough for the wall mount screw heads to pass through.
3. Screw hole slots
To give the wall screws a place to slide and rest, remember that aluminum is pretty soft and use the end of that same stopper (or another) drill bit and push up from your larger holes to create that slot.
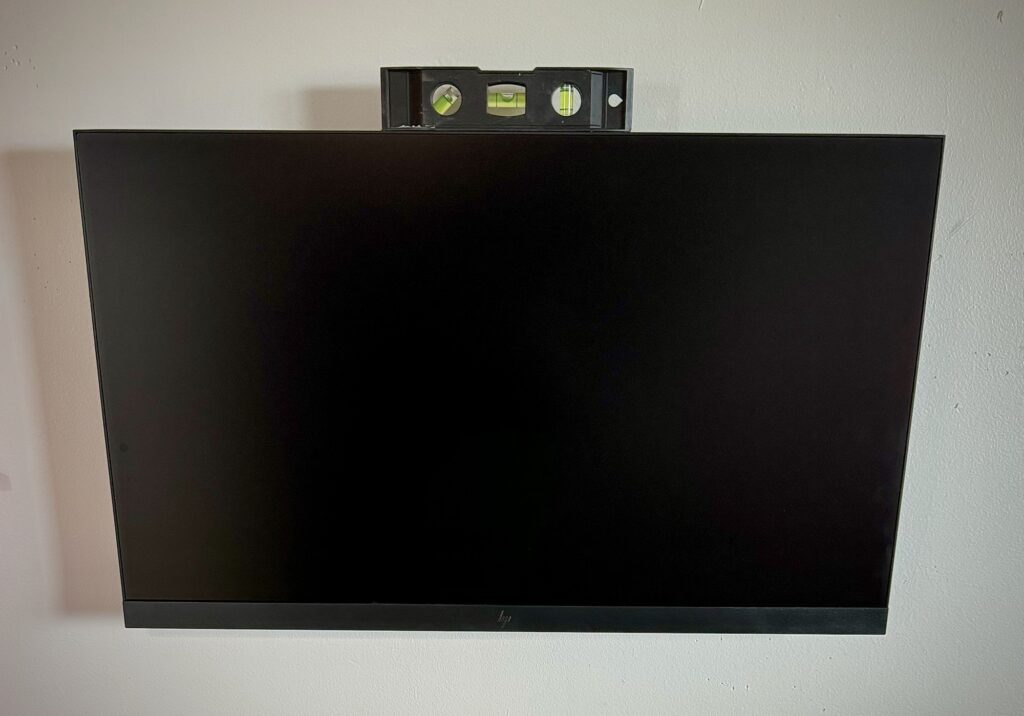
4. Mounting on the wall
Determine how high up the screen should go then measure the distance between the wall mount holes. Transfer those measurements to the wall (I found a stud and used 3” screws) and get screwing. Leave about a half inch sticking out from the wall the hang the monitor from. Adjust that screw depth once you test fit everything to help eliminate the monitor wobbling.
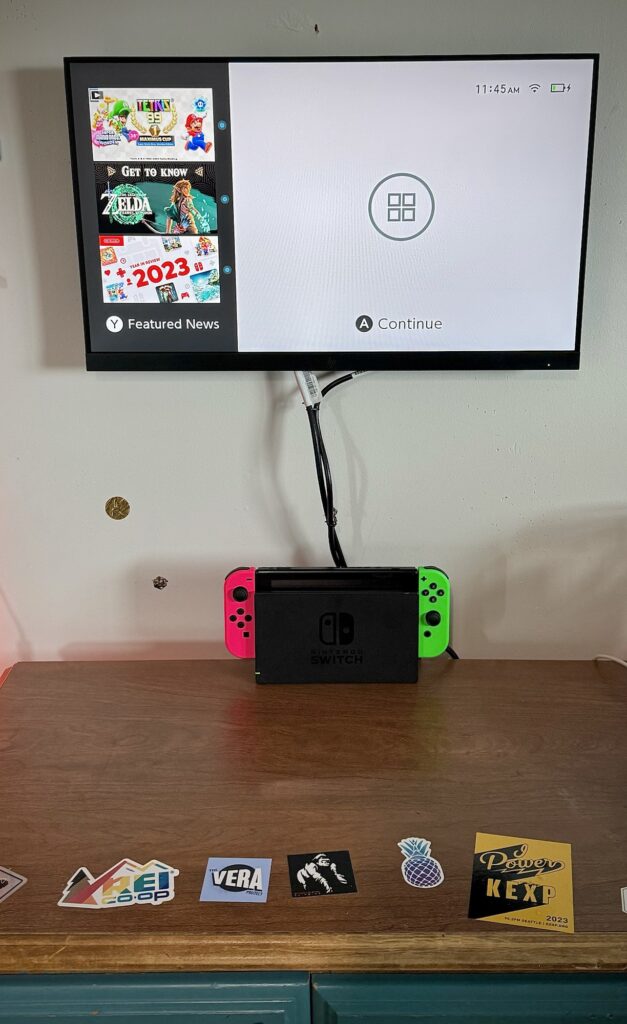
5. Run wires and enjoy!
Connect everything and tidy up those wires (may get a track to hide them better later) and you’re all set!
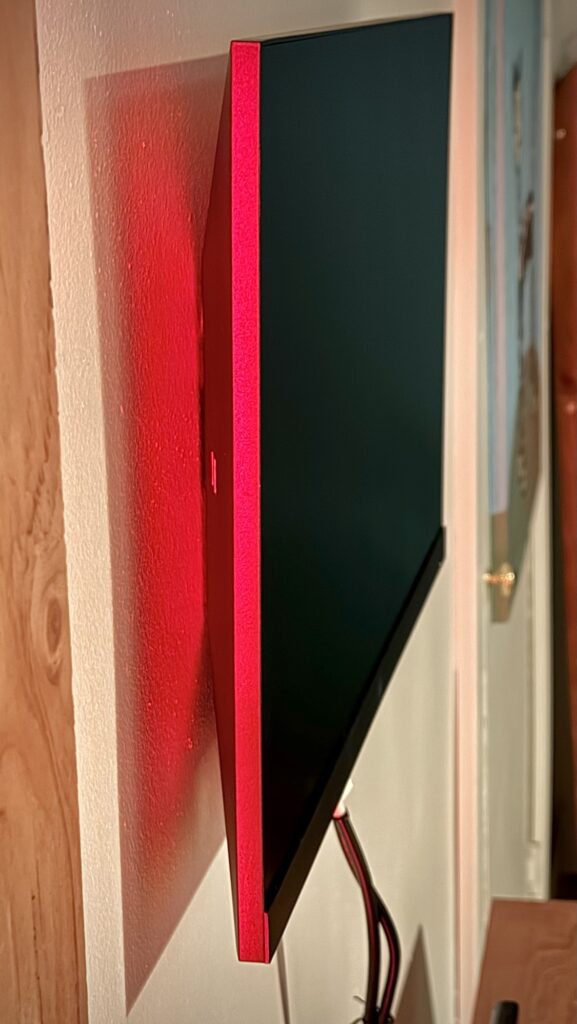
Of course, depending on the size/weight of your monitor, you may need a thicker back plate for your DIY monitor flush wall mount. Likewise, depending on your wall, you may need to find multiple studs or use wall anchors rated for the weight of your screen.
I’m really happy how this came out. It avoids using any desk or table space and is super secure since I mounted directly into a stud (and modern monitors are so darn light). I can’t wait to see how my kiddo will use and enjoy this himself and with friends.